A Challenging Issue Arises
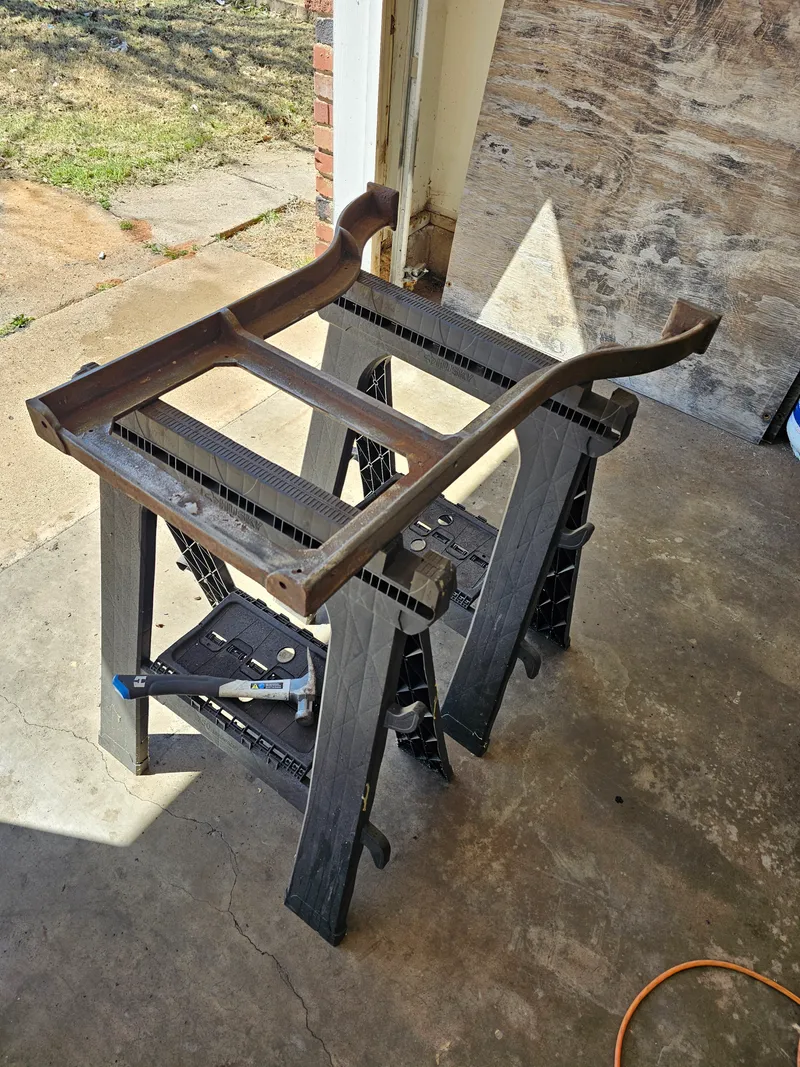
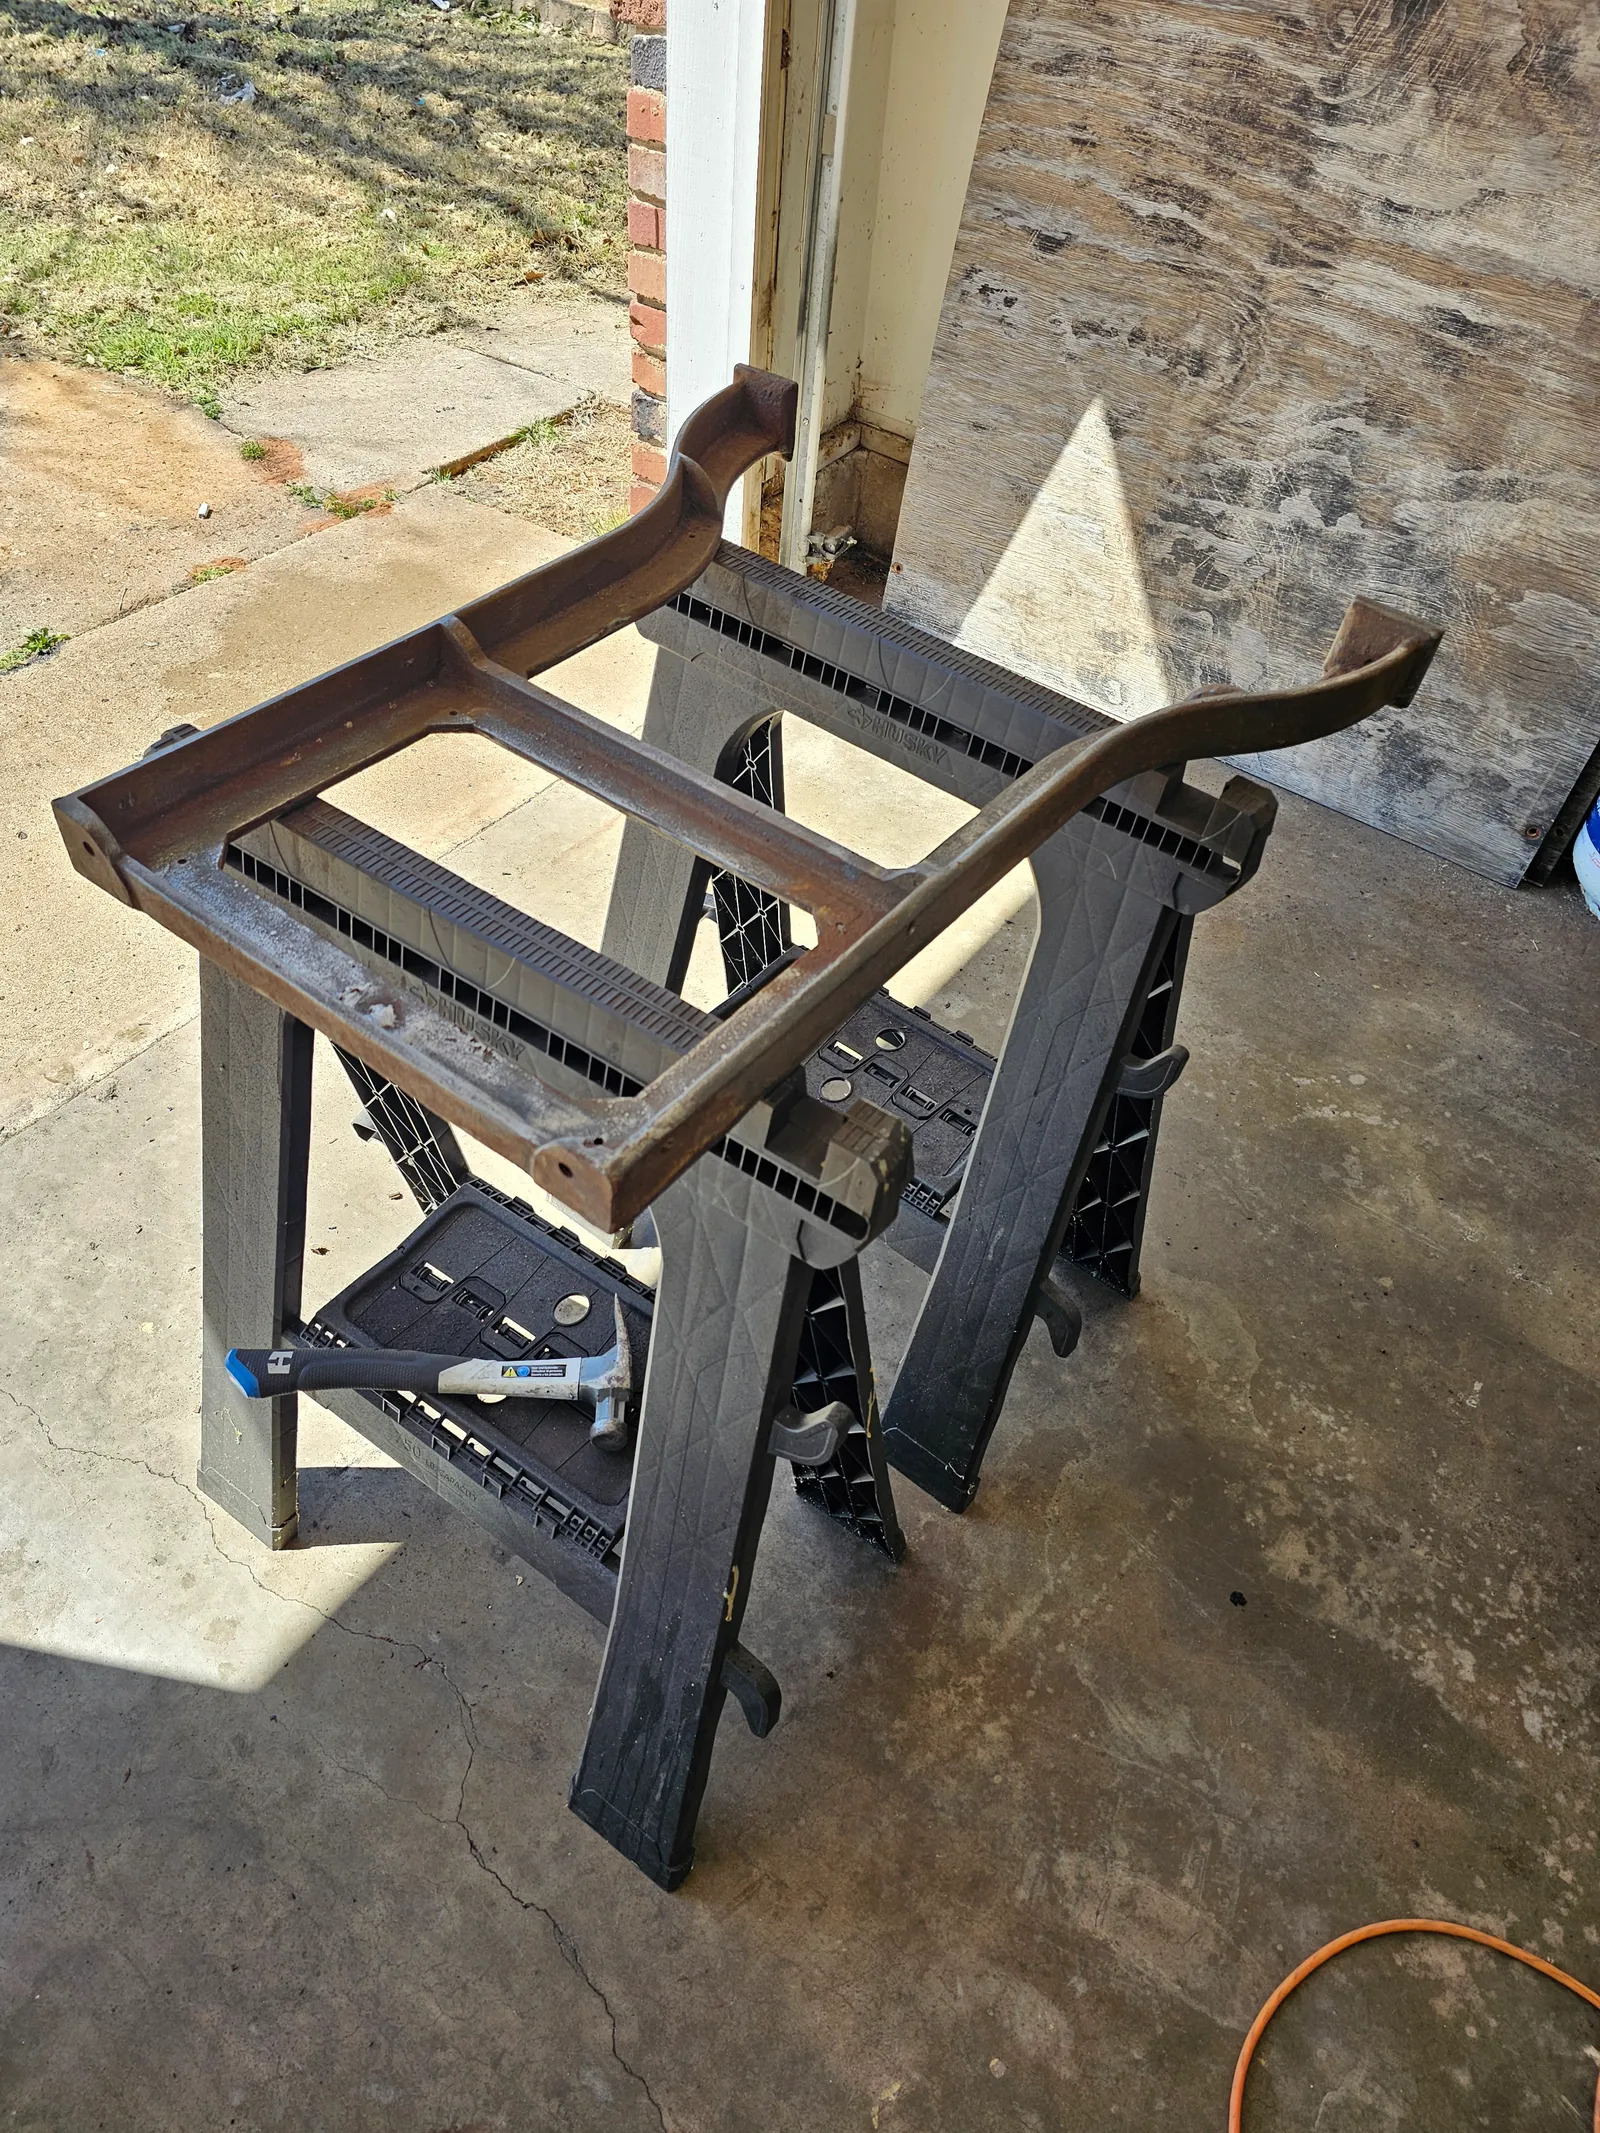
I needed legs. Specifically, I needed some new legs for the museum’s Challenge Galley press. I thought about going about getting an older table of the right size and just using that. But one day I was browsing Facebook marketplace and happened across a press of almost identical design to the one I was working on. Initially I was only interested in buying the legs but when I met with the guy in person I was surprised to find that the press was much larger - and heavier! - than I originally thought. But apart from the wood having nearly completely rotted away; the press was in surprisingly good - although completely and utterly rusted - condition.
A Side Project and a New Goal
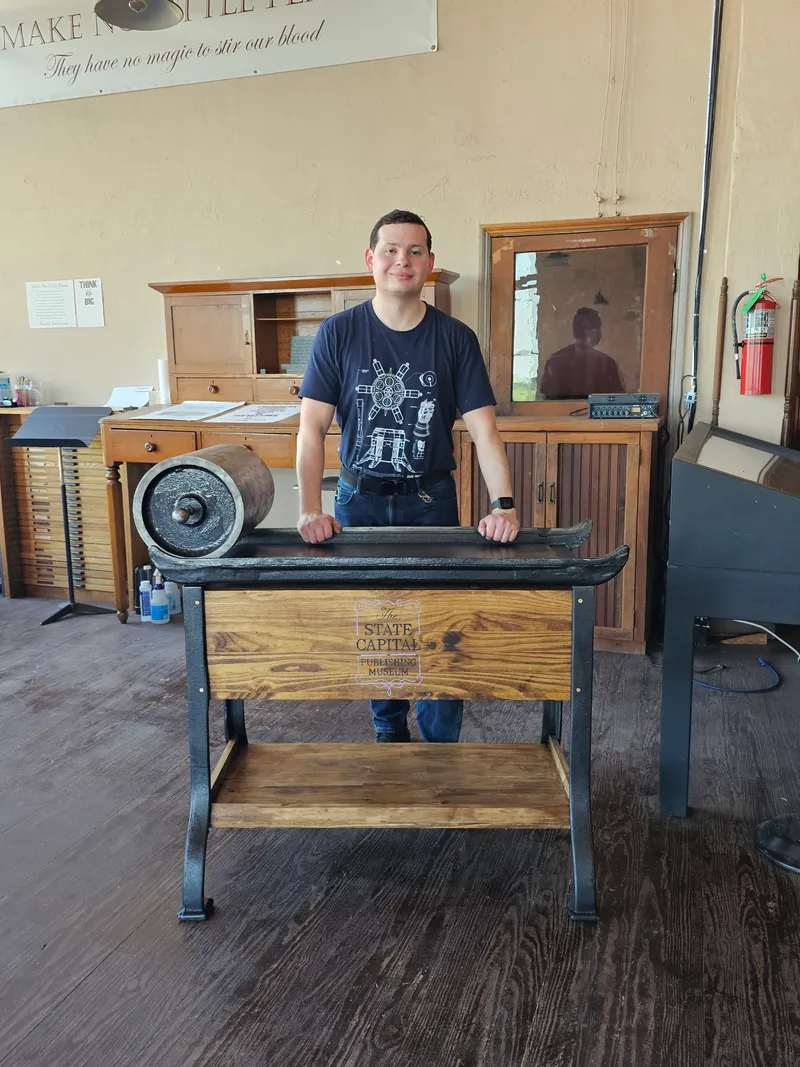
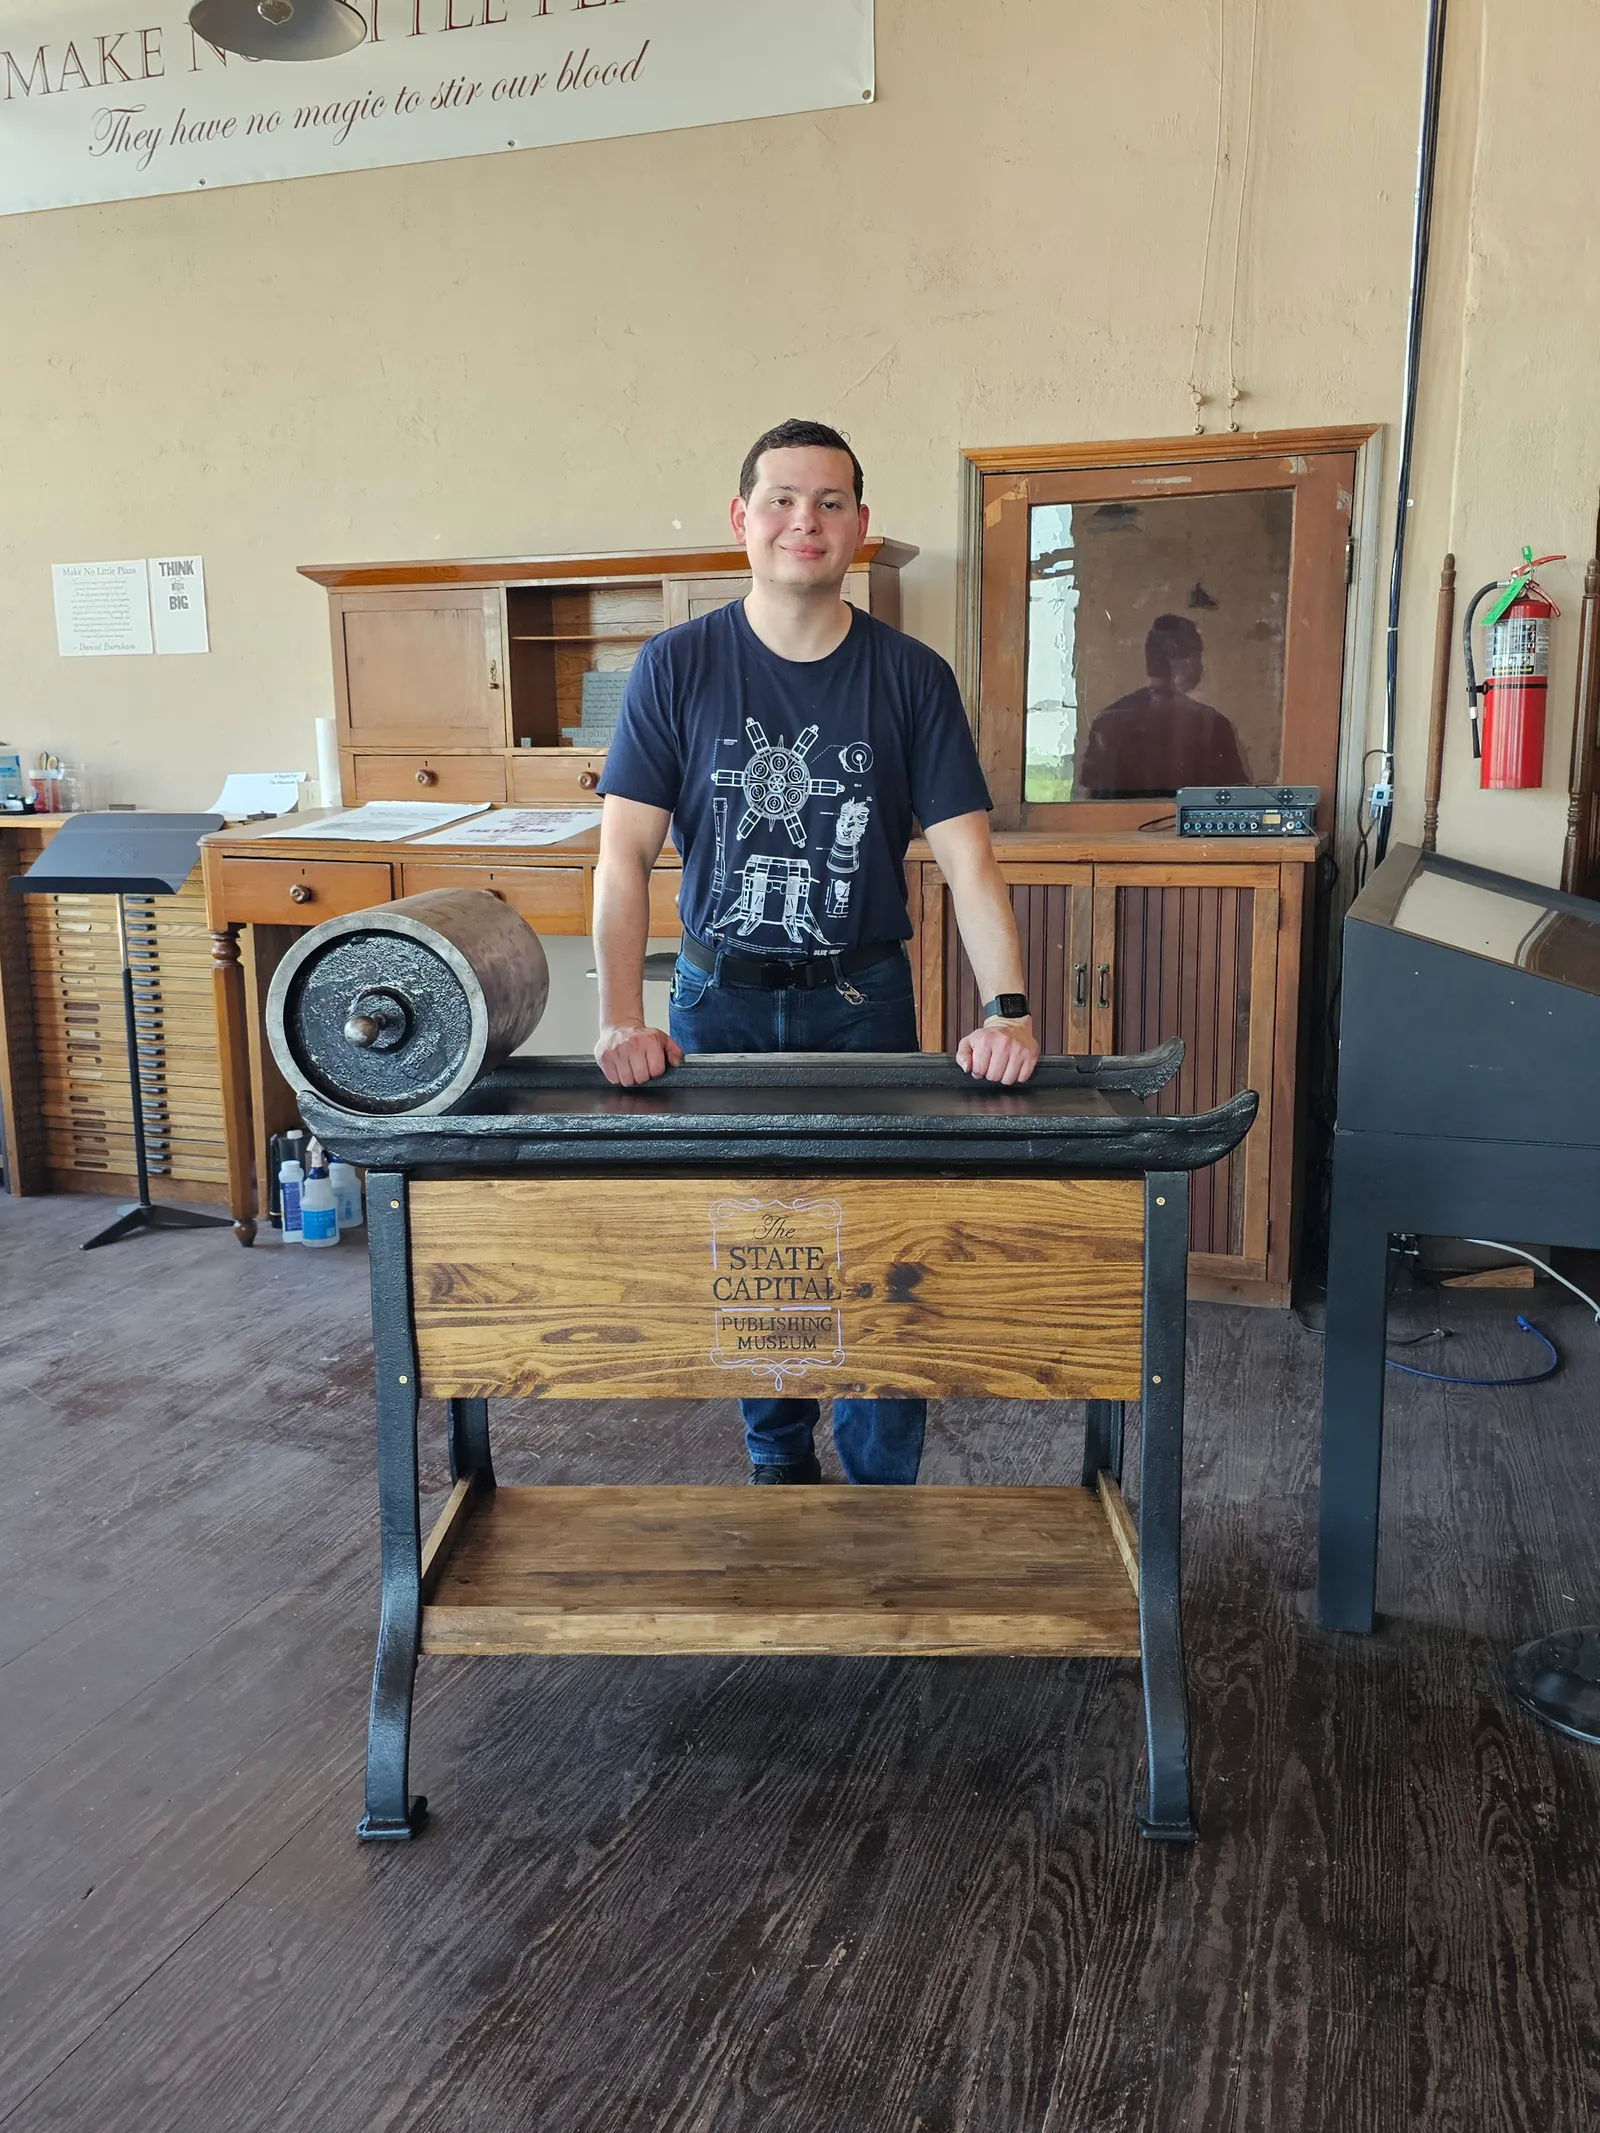
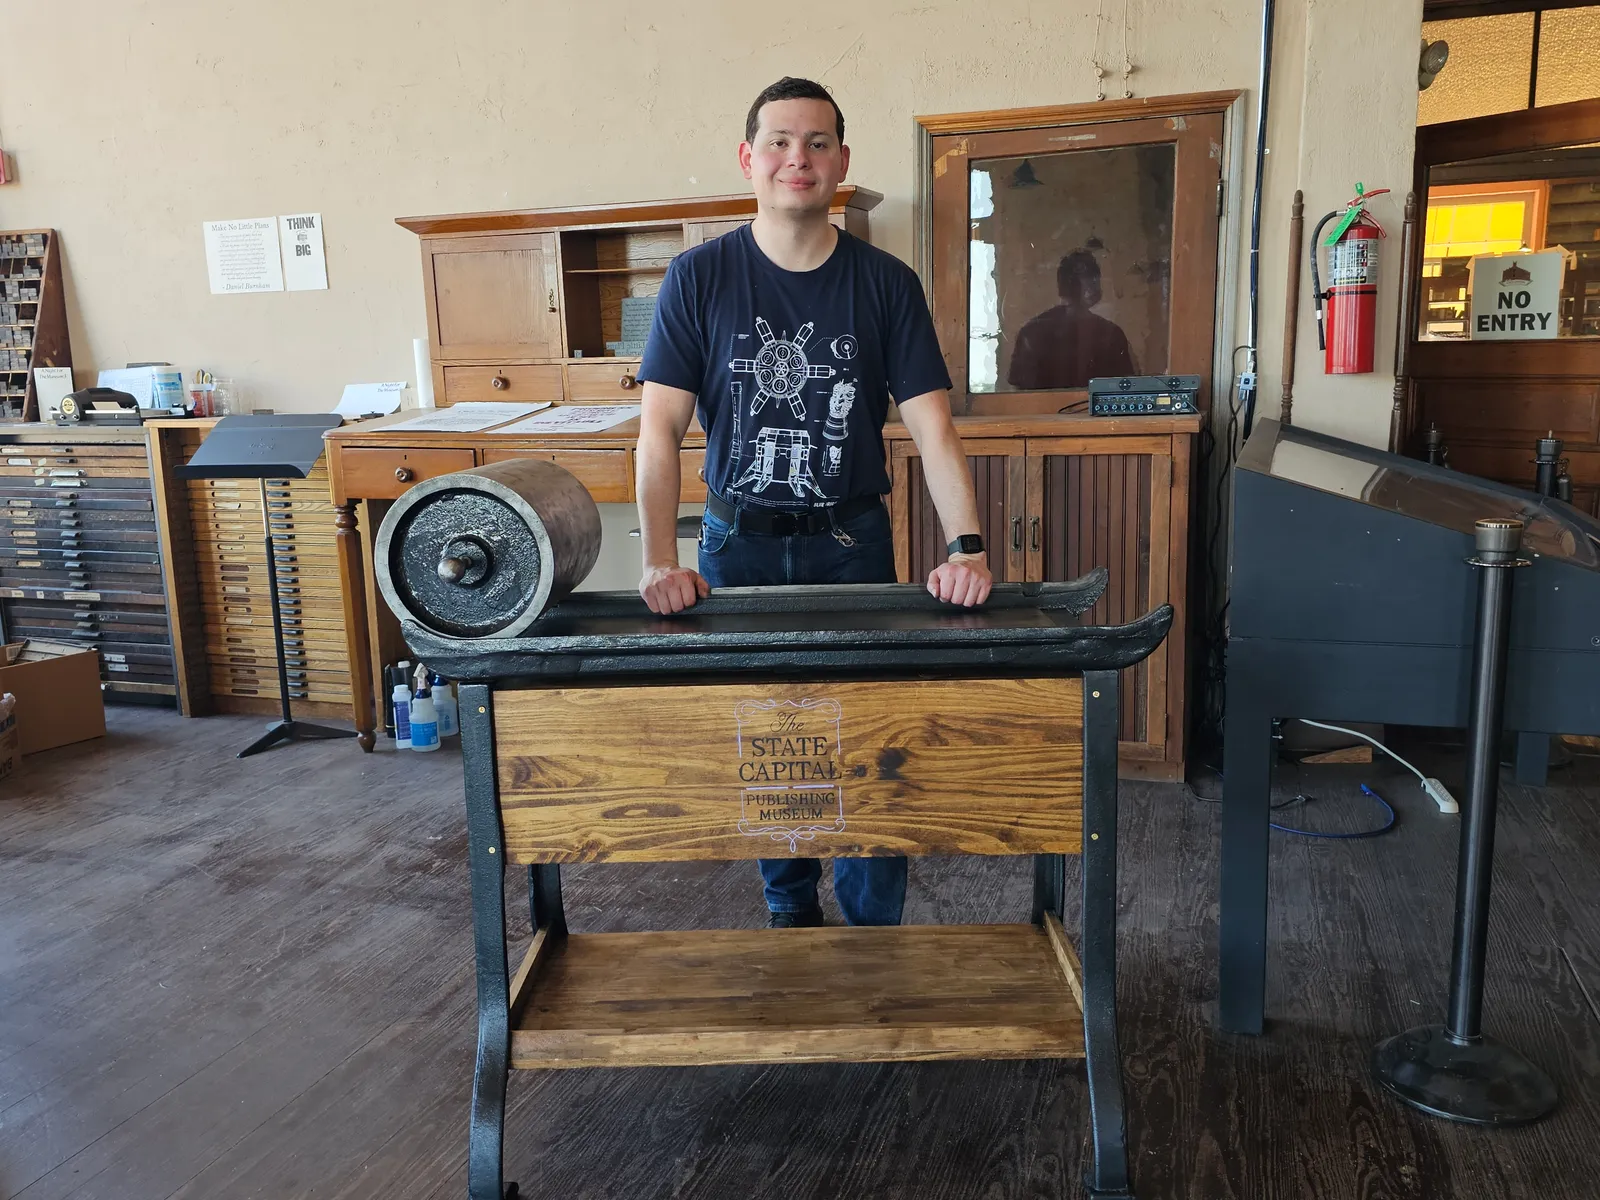
By this point I was trying to finish restoring the smaller Challenge Galley press as I’ve been debating leaving Oklahoma for a while now in search of love, and I wanted to finish up this last restoration before I did. It was a smallish but manageable project. Yet here I found myself with an inkling of an idea for a much more meaningful and grander final major restoration and donation. So I made a decision. I was going to restore this press and it’s donation would be my final major project for the museum.




So Much Rust…
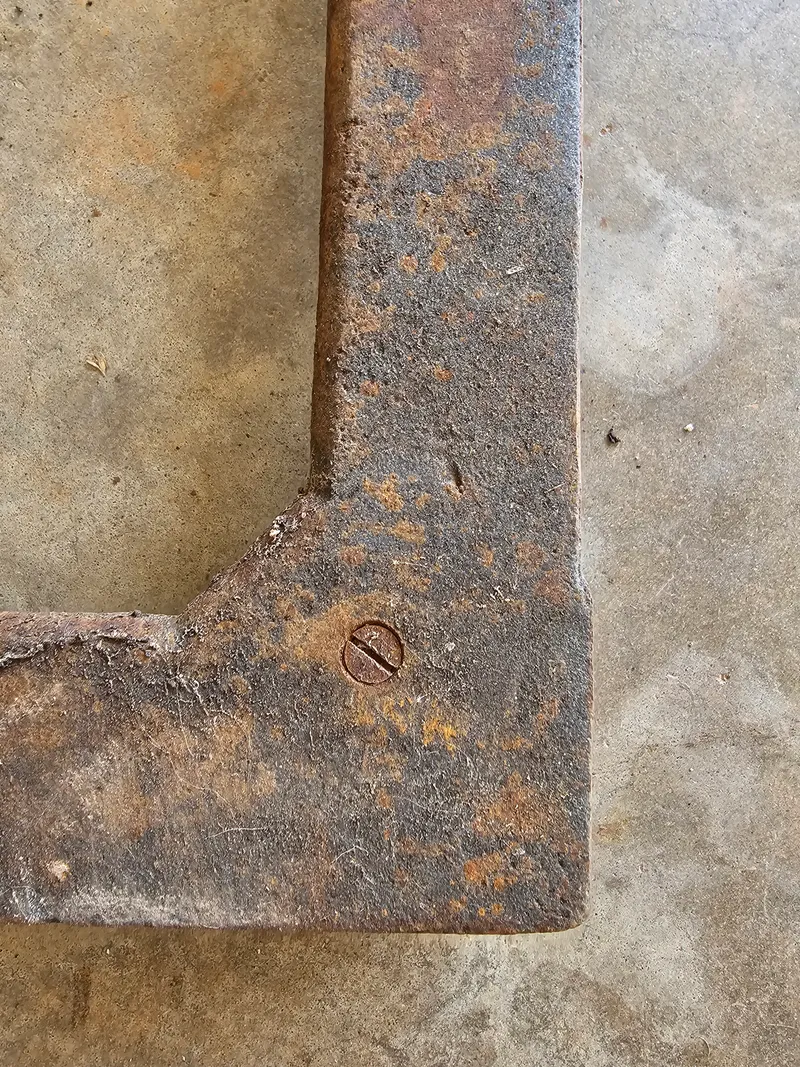
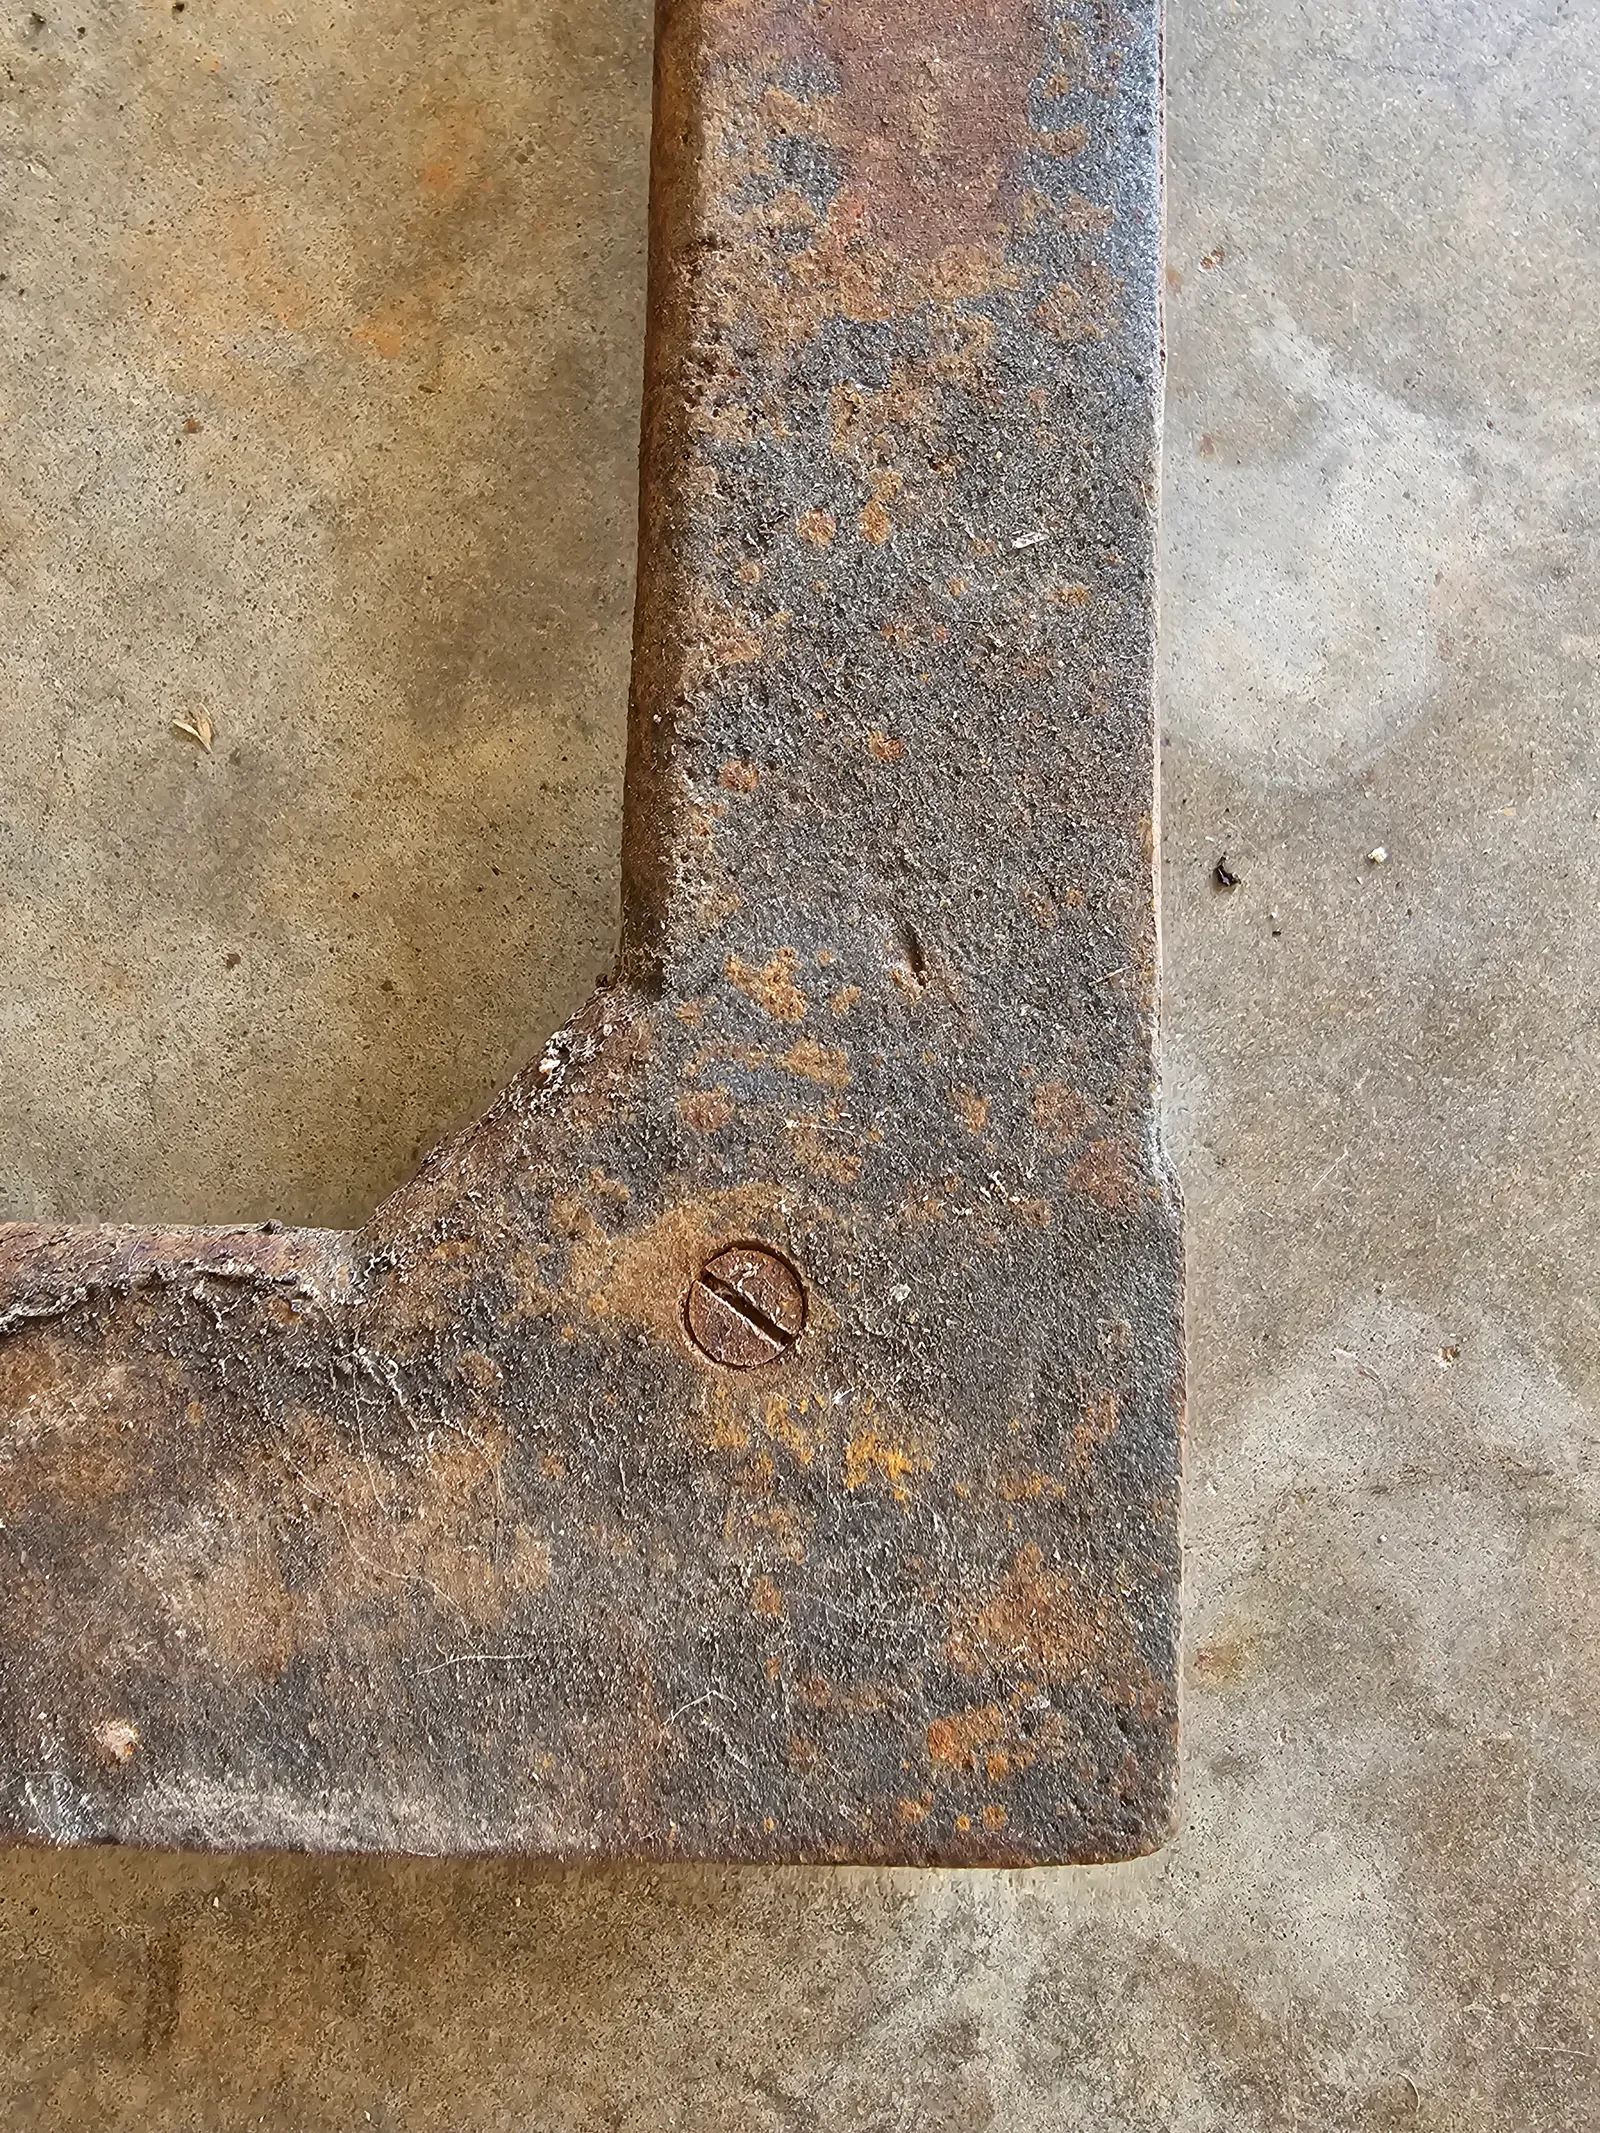
Every project has something that makes it different from all the other projects that preceded it… I knew I was going to need to make a cabinet and shelf for the press but I’d done that several times before. No, the stand-out issue of this project was the SLIGHT issue that it had completely rusted to a dark red over years standing outside in the elements. I’ve dealt with rust before on other presses I’ve restored. But this amount of rust was entirely it’s own thing. Most of my time working on this project has been entirely devoted to removing layers upon layers of rust to get down to bare metal. To that end I’d like to remark upon the different methods I’ve used and their effectiveness.
The Bath
I was loaned a parts washer that I’ve used for multiple previous projects and with parts washer solvent and sufficient time scrubbing with wire brushes and green scrubbing pads you can generally get fantastic results. This excels in cleaning oily, dirty and ink-coated parts. It does okay on lightly rusted parts but much of the actual rust-removal is done via the physical process of rubbing it away and not via the solvent itself. If you can afford enough of it, and have a bucket large enough, any part that you can submerge into Evaporust, you should. That stuff is fucking magic. It doesn’t smell the best but it works like nothing else. It excels at getting rid of thick rust but won’t do much to dirt and grime, so try to get as much oil and gunk off your parts as you can before dunking them into the Evaporust.
Wire Wheeln’
Bathing the parts is all well and good if you have a bath large enough for them, but after attempting to spray them down with Evaporust using rags, it was fairly quickly obvious that I would need a better solution. My go-to in these cases is the wire-wheel. Wither it be on a rotary tool, or attached to the bench grinder, one of the best ways I’ve found to remove rust is to just take it to the wire wheel and force the rust away. With the large weight of the parts the aforementioned ways aren’t ideal. So I attempted to use a crimped wire-wheel attached to the angle grinder to get rid of rust… It was… okay, but wasn’t super effective. I will skip ahead a bit before I move on and say that I did eventually switch to a Twist Knot Stainless Steel wire wheel. This proved to be quite useful for doing cleanup after getting most of the rust off, or getting into the smaller crevices that I couldn’t otherwise. It does have a habit of catching on the parts, so I highly recommend a firm grip on the angle grinder with both hands at all times.
An Itchy Blast
In my infinite wisdom I had an entire side-tangent in acquiring sandblasting equipment and an air compressor large enough to use it continuously. While I do not regret getting the air compressor… I have to say that I am far less impressed by the performance of the sand-blasting. I probably didn’t spend enough or wasn’t doing it right, and while I was able to use it to get down to bare metal. It is a tortuously slow process that without a cabinet is incredibly irritating and very quick to expend the required abrasive medium - which thankfully isn’t super expensive. Needless to say, once I got it working. I fairly quickly abandoned it in search for a different alternative.
To the Grindstone
One of the most effective rust removers in small amounts are the various scouring pads by Scotch-Brite and others, they come in various colors, but most often are green. One day while going to Home Depot to get some more of a slightly thicker and more abrasive quality. I happened across a Black Strip Disc attachment for drills. As a lark I bought it to see how effective it was. And I was immediately blown away by how quickly it was able to remove large amounts of rust. Very soon after I went online and bought an entire stack of the purple strip disc attachments for the angle grinder, and they ended up being an absolute lifesaver for the project. I HIGHLY recommend them.




Safety Minute
I would like to take some time here to make a note on PPE. For a lot of previous projects I’ve largely avoided utilizing PPE unless doing something that absolutely required it. Disposable rubber gloves and clear glasses are the first and foremost useful things to protect your hands and eyes. For heavier applications a proper pair of gloves should be used.
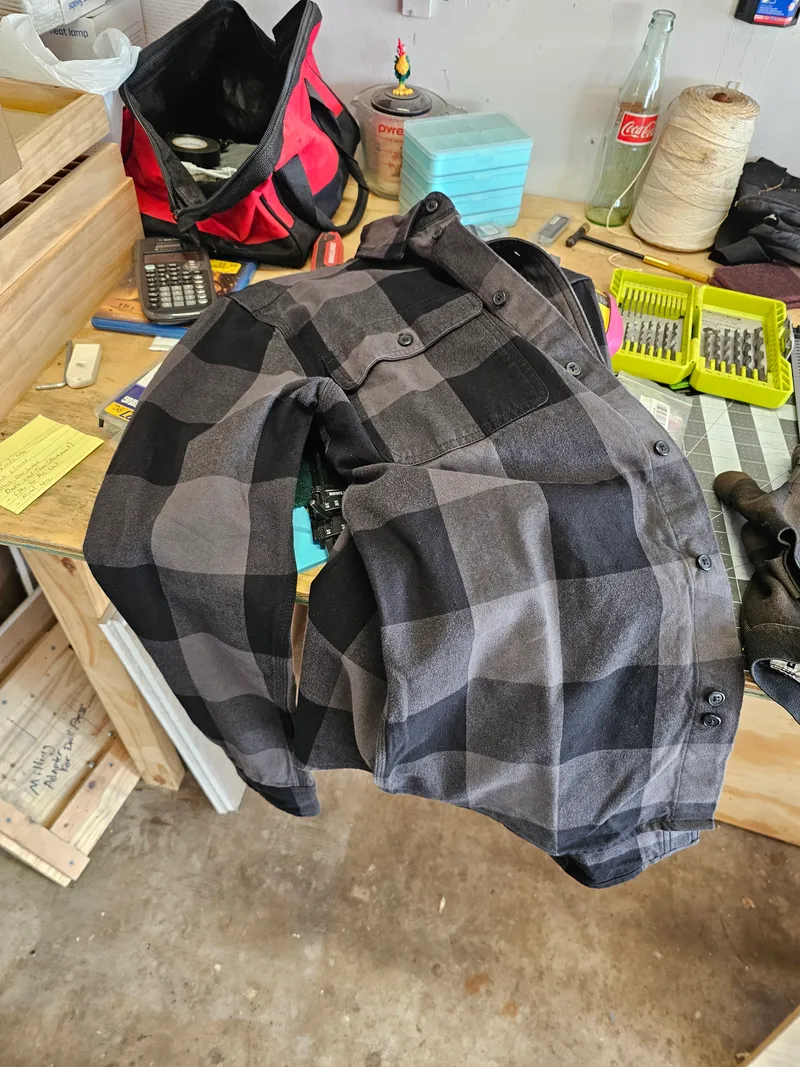
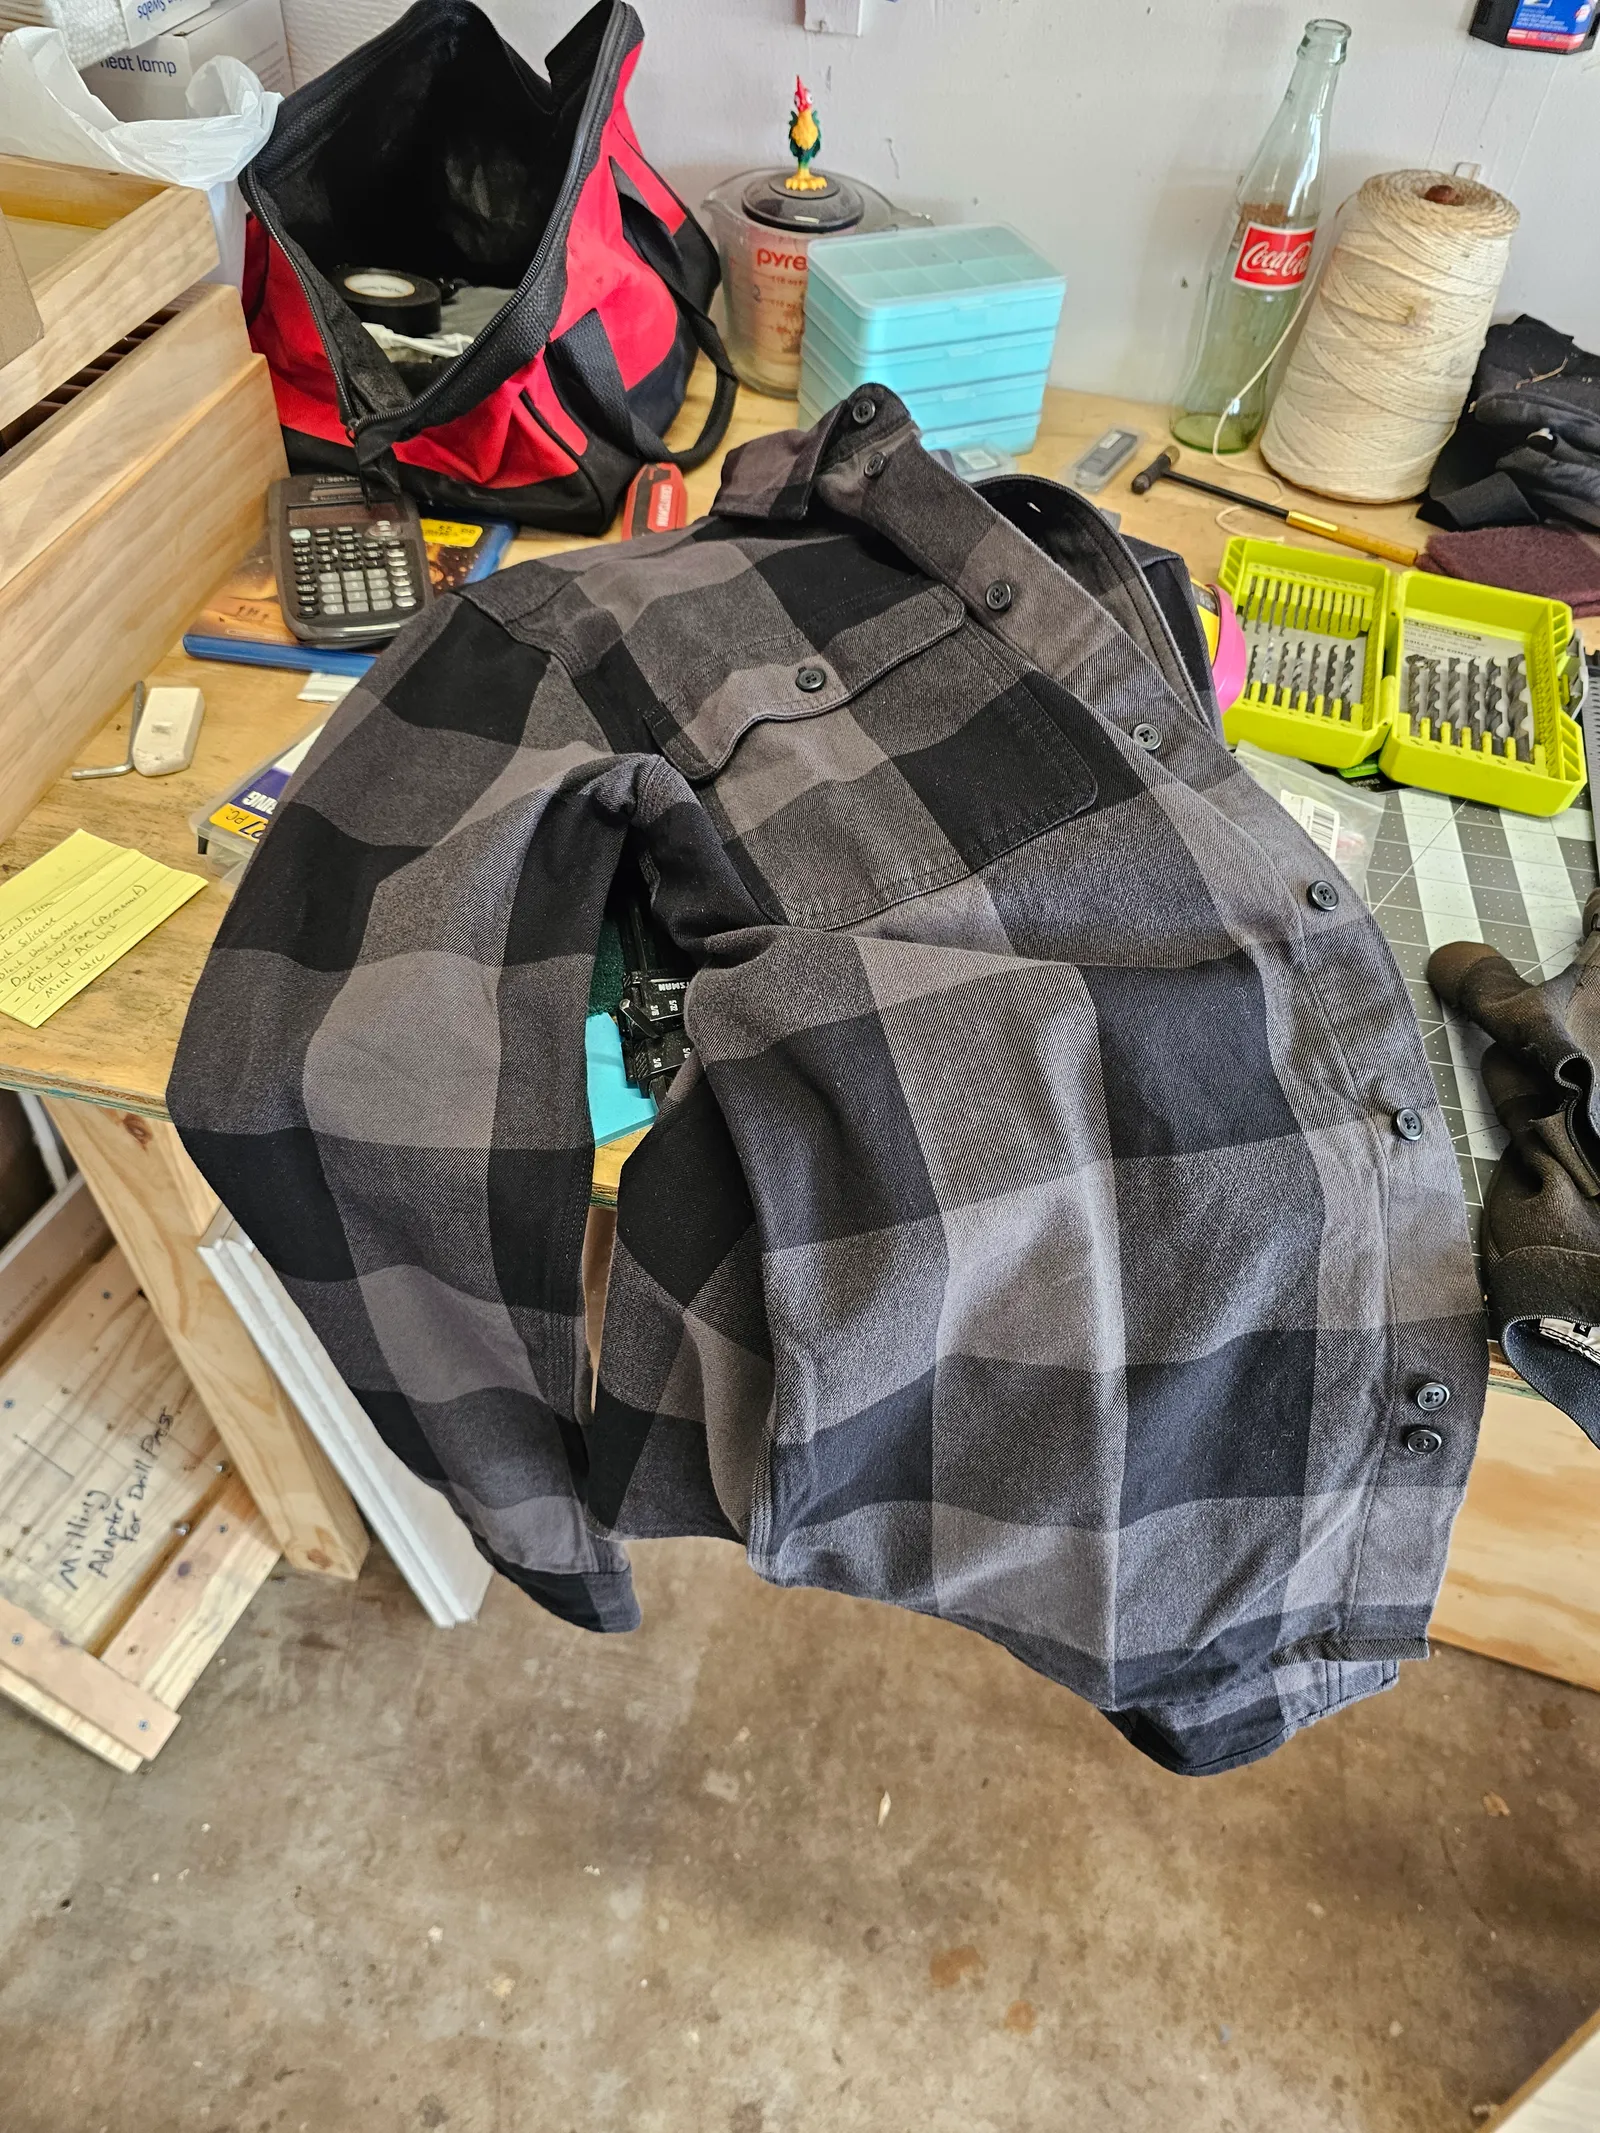
Some of my newest additions are a set of Roundhouse Overalls for hobby and woodwork and a flannel shirt to protect from… energetic debris… that the angle grinder is liable to eject with gusto.
Also be sure that when doing a fair amount of grinding or spray painting that you have a proper respirator rated for organic and non organic particulates. This is especially important for cases where you’re working to remove old paint which may release lead dust once obliterated.
Post Rust
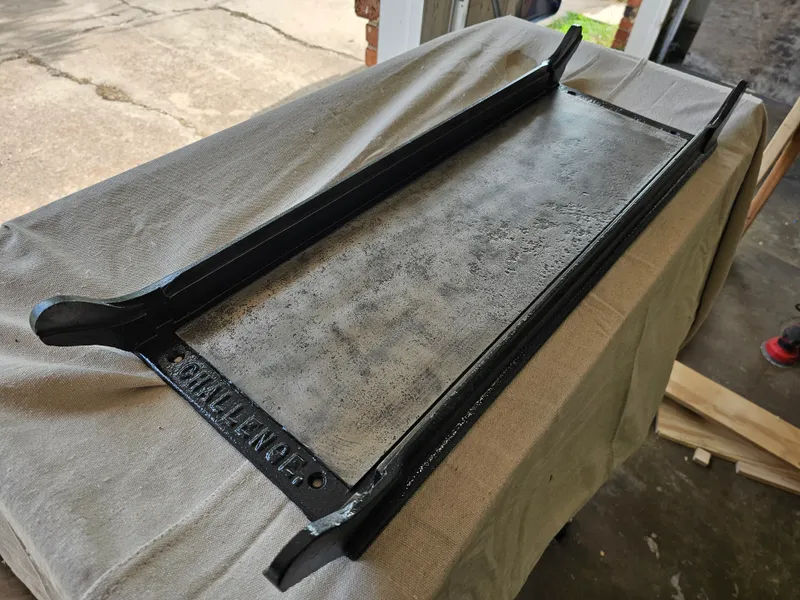
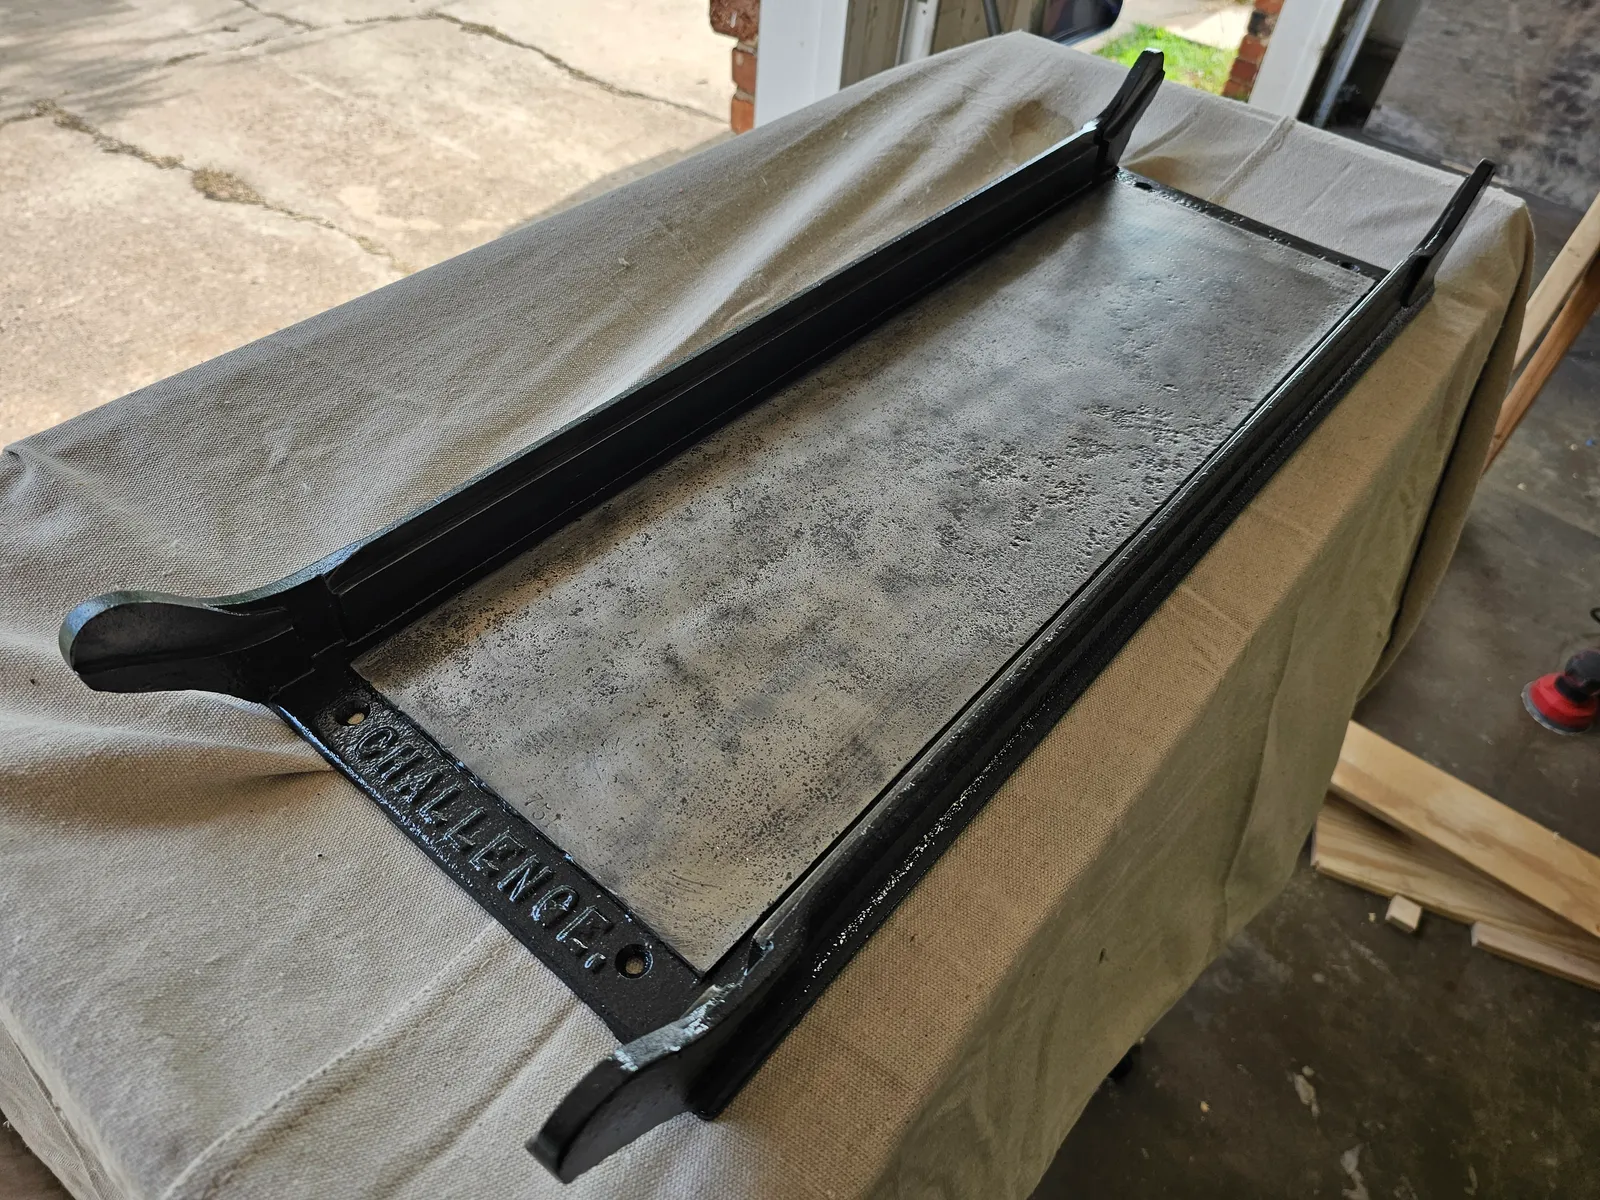
All this is well and good, we’ve gotten the rust off. But now we’re presented with a rather problematic result. We have gotten down to bare metal which will immediately rust over again unless we do something to protect it. For active surfaces of a machine-press, a light coat of oil is nessicary to keep it from rusting, it’s regular operation will ensure that it stays fairly rust-clean. But for the non-working sections, they need something a bit more robust. A while back I was watching some youtube videos on car restoration, and they joked about just spraying the bottom of the cars with Rust Reformer. (This is in Canada where the salt will eat away at the bottom of the cars quickly) But since I do this as a hobby, I wasn’t familiar with it. It was the perfect thing I needed though, since I can never get rid of ALL the rust. After getting the parts almost entirely rust-free, I used Rust Reformer as a base coat for all the press parts. Then I did several layers of what has come to be my favorite finish coat, a Hammered enamel-like black paint.




The Rest
The rest of the restoration was actually fairly straightforward. I built a cabinet out of solid wood from Lowe’s in much the same fashion that I did the Record Cabinet a while back. I also built the bottom shelf by joining two boards width-wise to get the necessary 20”x38” dimensions I needed. For staining I used what I had left of my favorite stain color - Mission Oak - which gives furniture a nice warm golden color. And over that I used several spray coats of Lacquer. I normally prefer to use Polyurethane due to it’s slightly easier use characteristics. But I wanted something that could be easily restored if needed.
The hardware isn’t anything special. I got the hinges on sale as a set at woodcraft and the handle on amazon as a solid brass thing that was surprisingly inexpensive and robust.
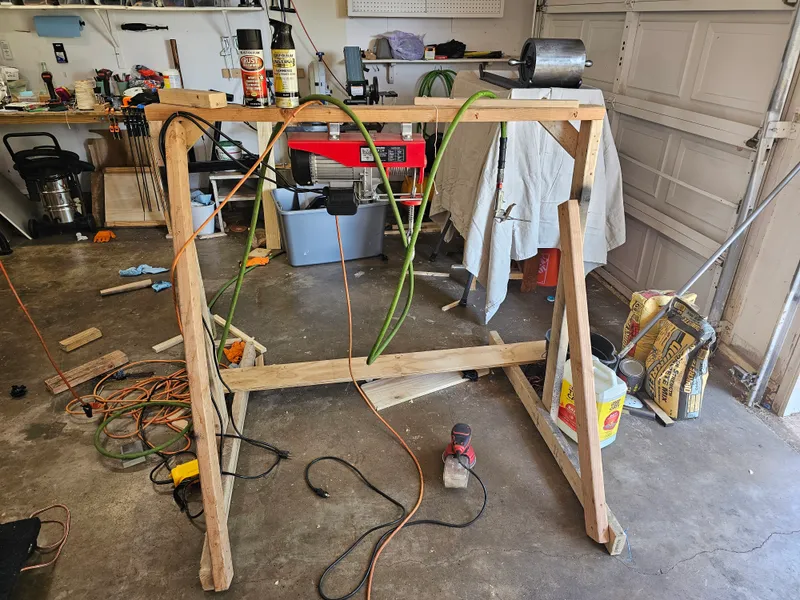
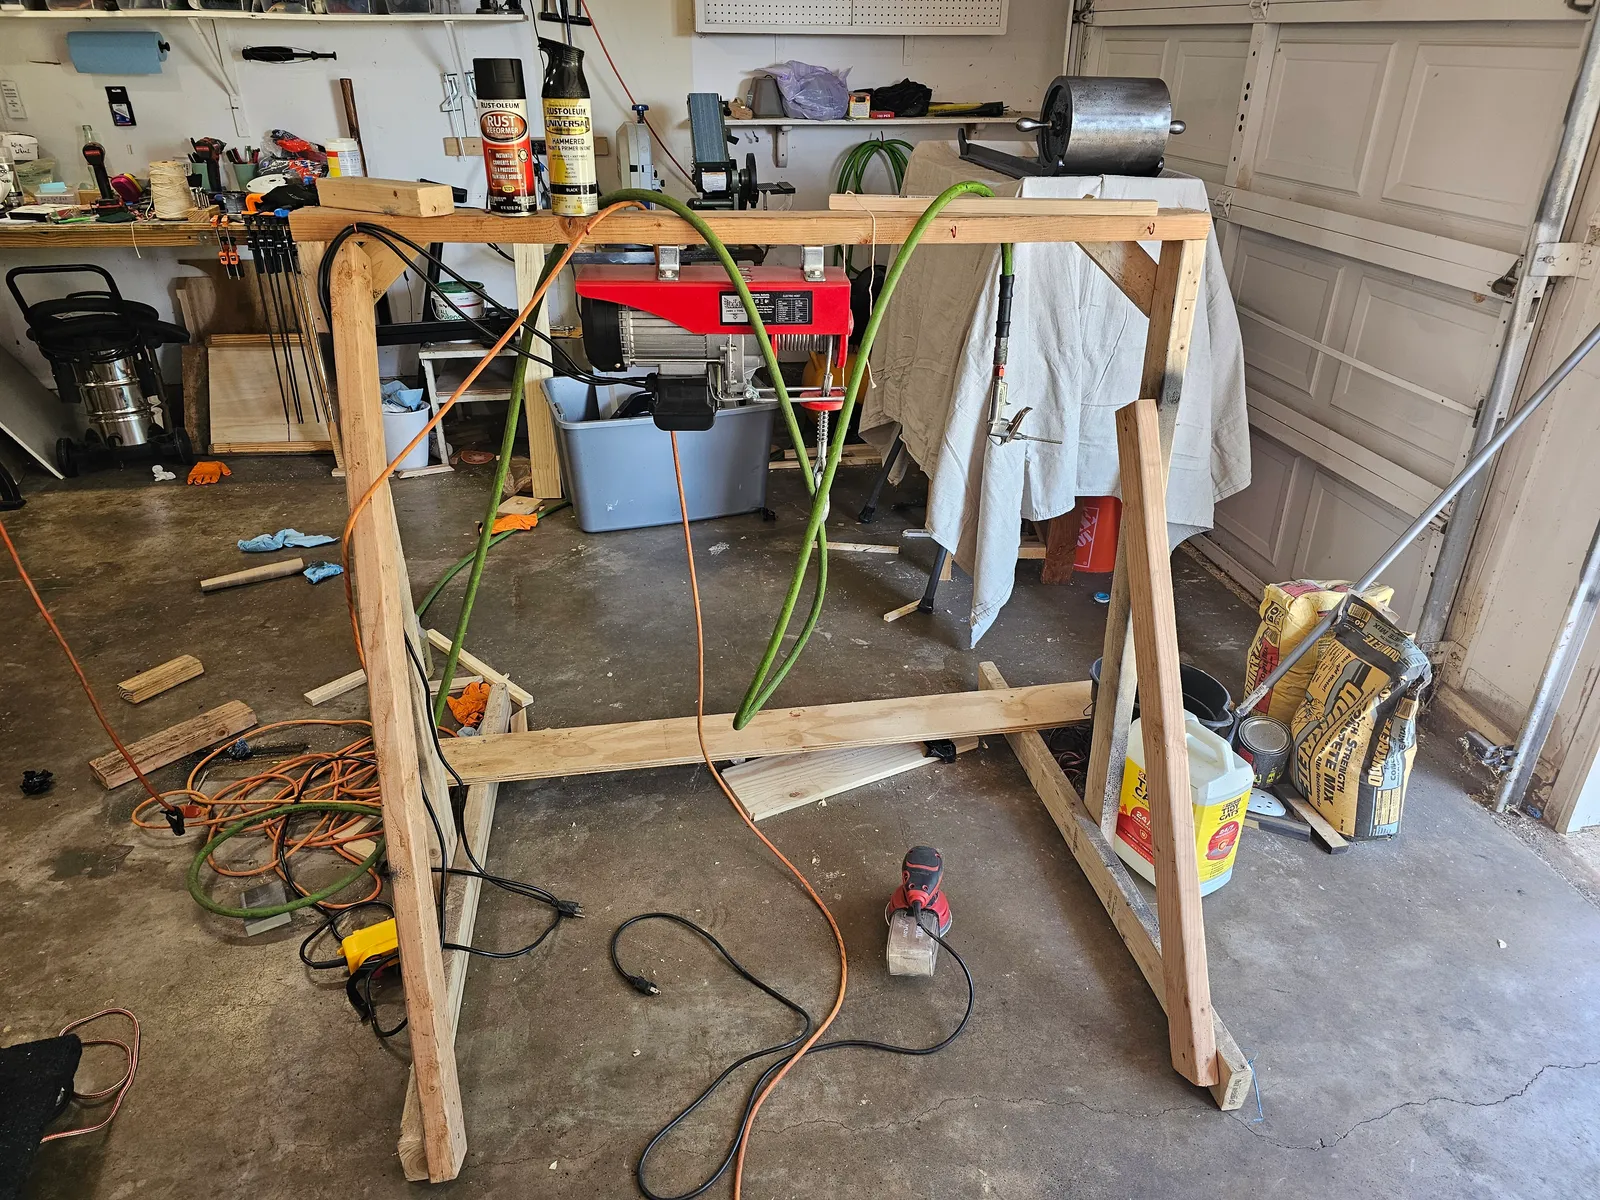
For the drum, which was far too heavy for me to lift on my own. I bought an electric hoist and built a frame to mount it to. Then I lifted it into a large drum of about 150$ of Evaporust. Rotating it every so often for two weeks. Then lifted it out and ground it down with the strip discs.




The Wordmark
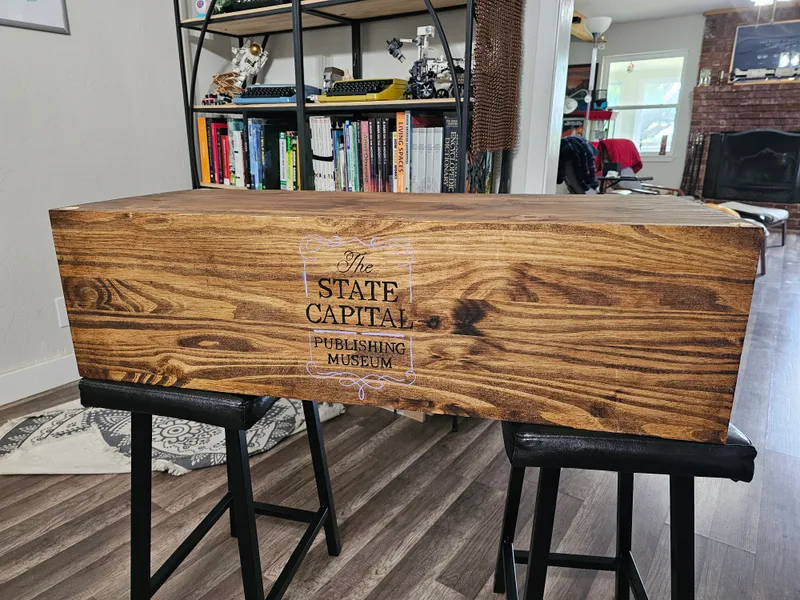
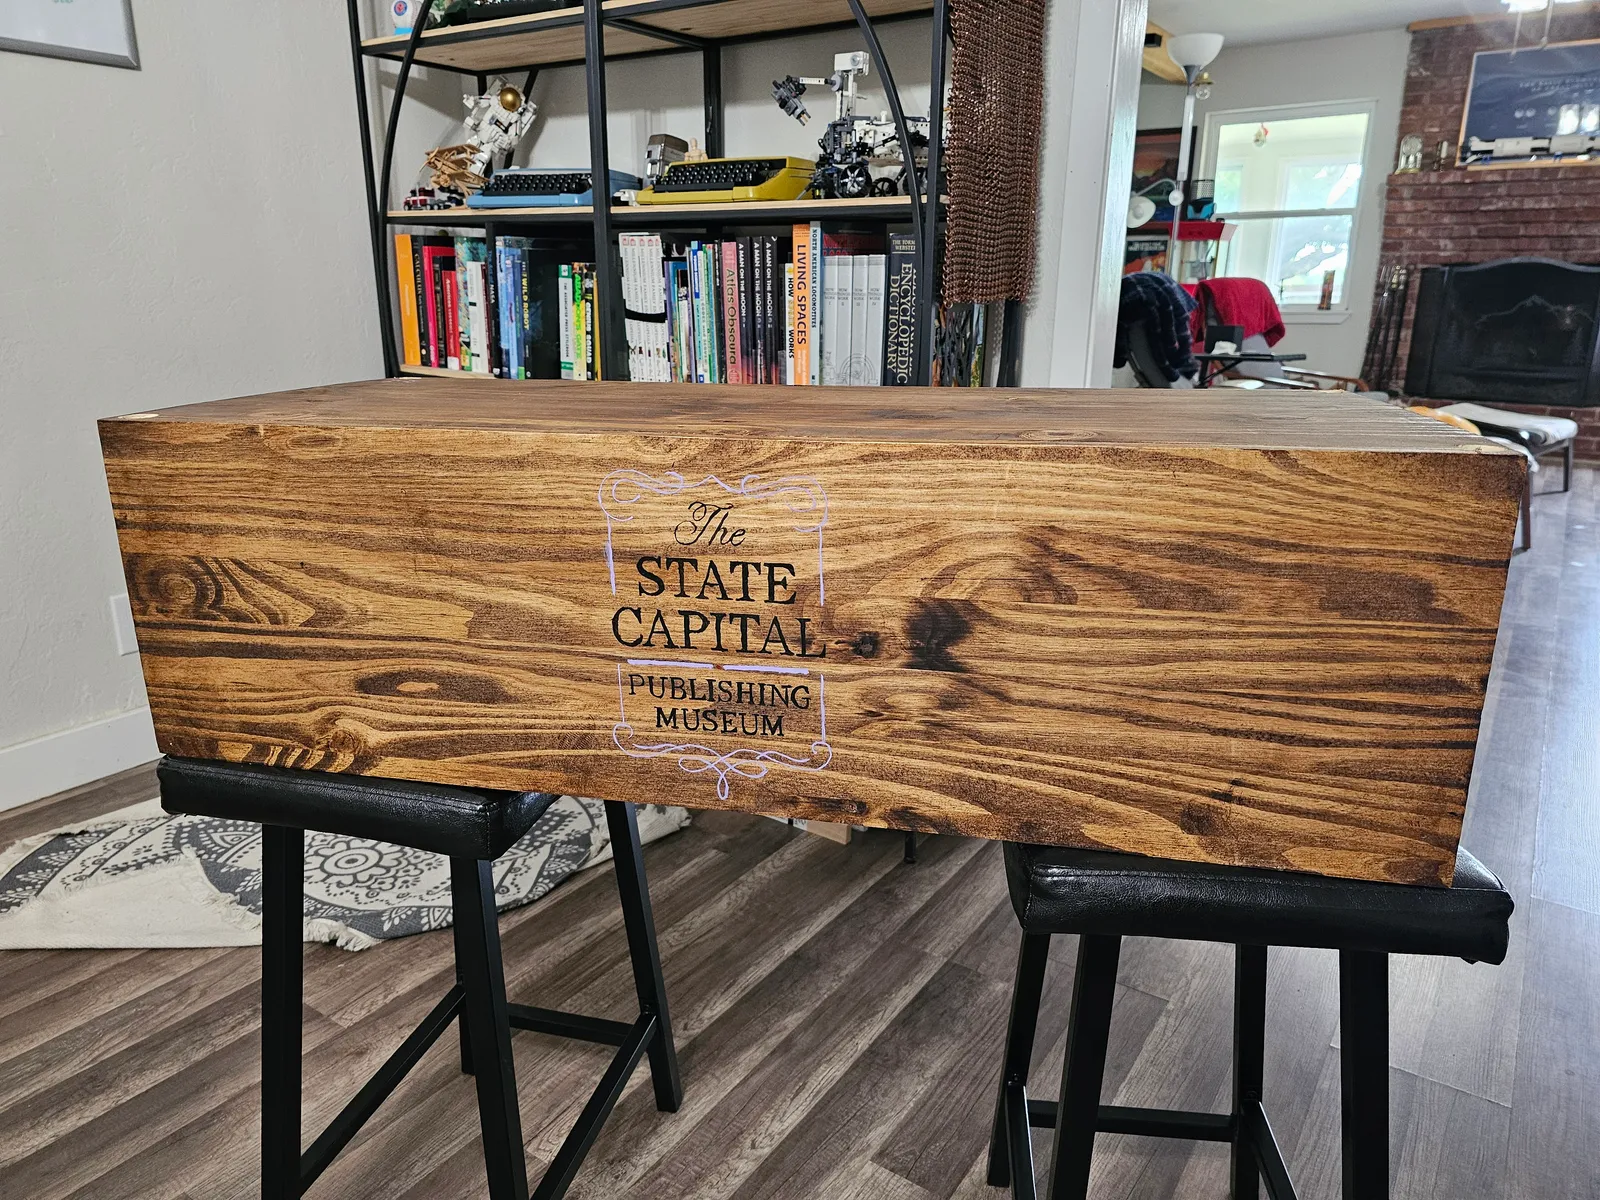
I wanted this press to stand out amongst the others. I nearly didn’t add the Wordmark to the front, but as I wanted to present something that would be immediately noticeable as something special for the museum. So I added the lettering for the museum with a nice filigree surrounding it. Black for legibility, Pastel Violet to represent my personal colors, and a Maroon dot to reflect the brick of the building.
I set up the design using Affinity Designer to mock-up the size of the front and adjust the alignment of the design on that. Then I used a projector to create a ghost of it on the press itself. From there it was just a matter of me - not an artist - hand painting it onto the front of the cabinet.




The Number Plate
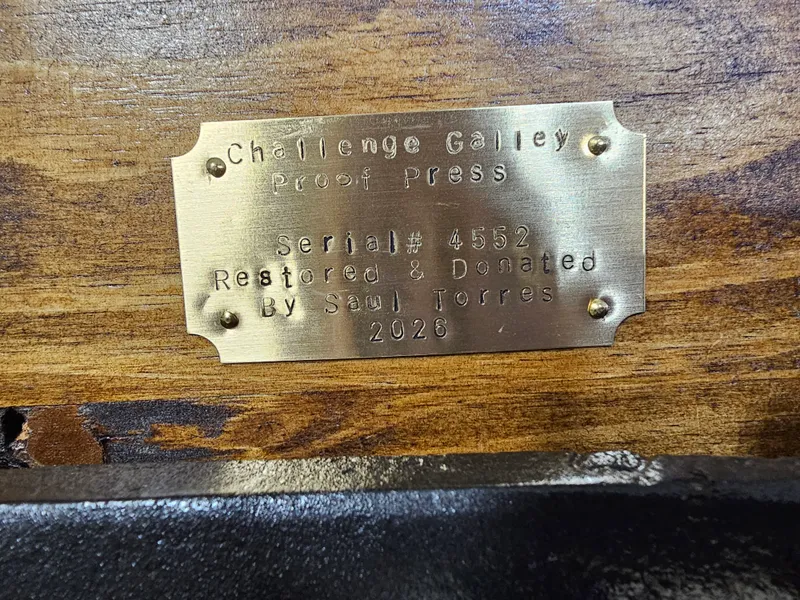
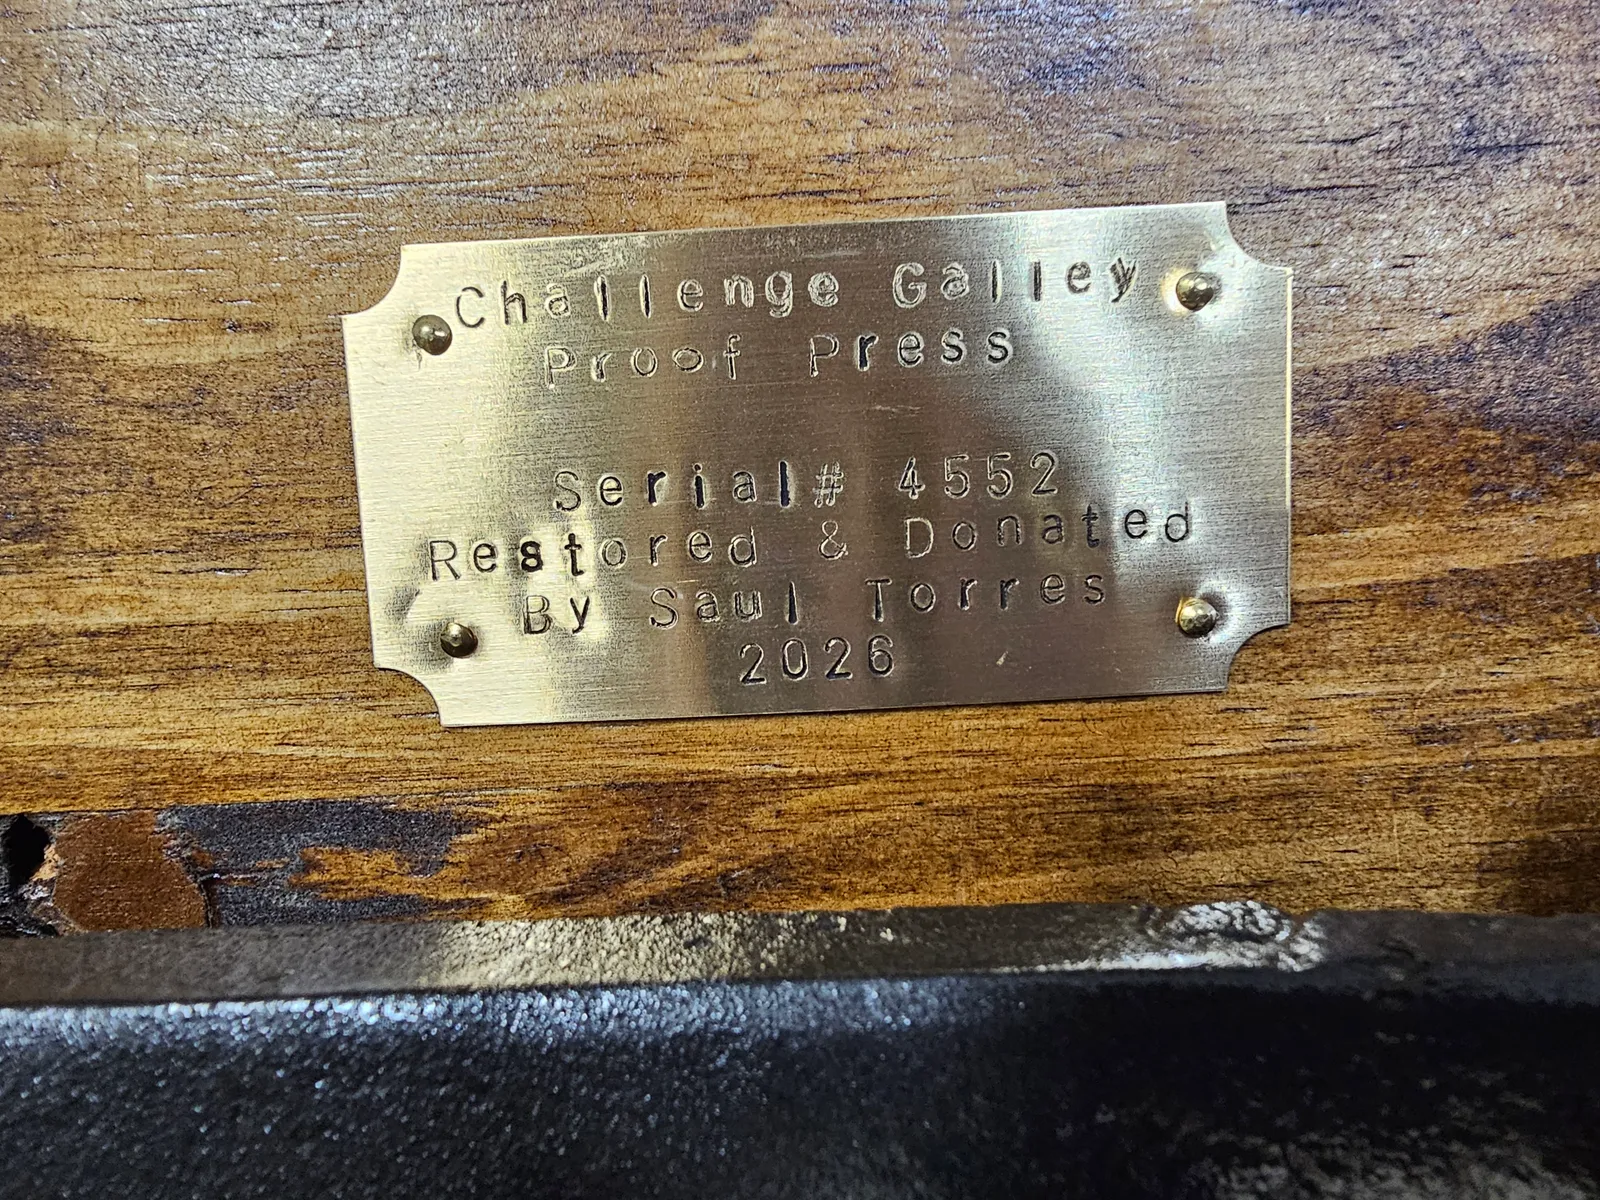
A final small touch to add was the Serial number plate. To commemorate the restoration. For this I bought some brass plates online as well as some punches, and I 3D printed a stamp jig to align the letters. After some testing and a quick math session to figure out what it would say and how it would be spaced. I fairly quickly was able to get the plate stamped out in an hour of hammering.




Towards the Future
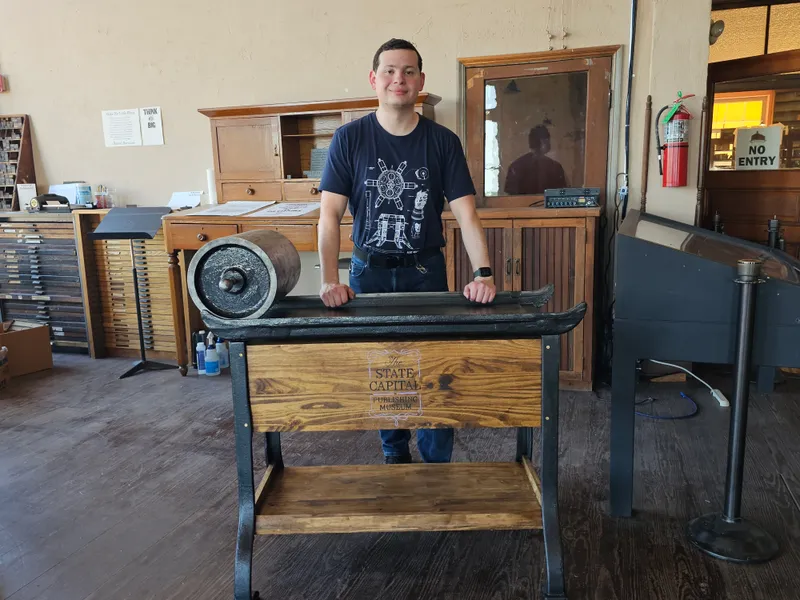
And that’s mostly it. I’m skipping over things here and there that I could probably talk about, but this is already getting long enough. I’m incredibly proud with the results of this restoration. I look forward to seeing it in the museum for many years to come.